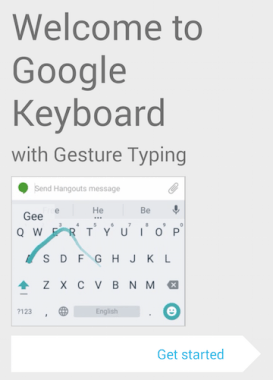
First, and if you’re not already using it, you need to install the Google Keyboard app, which can be found in the Play Store.
Next, make sure the keyboard is enabled on your device. Just open the app and follow the steps it gives you.
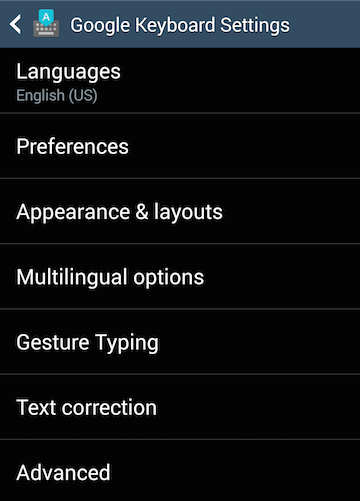
1. Go to the Keyboard app’s settings.
You can do this by clicking on the app icon or by holding the comma key on the actual keyboard.
2. Select “Appearance and layouts.”
3. Select “Custom input styles.”
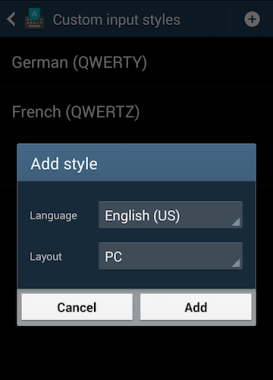
4. Select the plus (+) sign at the top of your screen to create a new style.
5. Select your language of choice for the new style. The layout you want is “PC.”
6. Last but not least, you need to enable the new style you’ve just created.
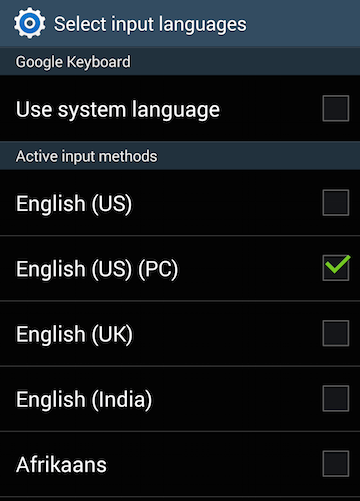
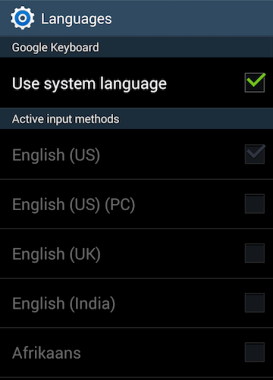
The pop-up will send you to the languages page. Once there, deselect the current input method and select the custom input method you just created. It will be the one with “(PC).”
Voilà!
Try it out. See what you think. If you don’t like it, you can revert back by going to the app’s settings, clicking “Languages,” deselecting the custom input method, and selecting “Use system language.”
If you weren’t already using the Google Keyboard app and you want to get rid of it, simply uninstall the app to return to your old keyboard.
Hope you enjoy your shiny, new, customized keyboard!
If you found this guide helpful, please share it with your friends. Shout out to Phil Nickinson for his tutorial on androidcentral.com. I’ve tried to build on what he did by adding more pictures, breaking the process into numbered steps, and showing how to undo these changes if you don’t like them.

